Contributors:Kari Goin Kono, Misty Hamideh, Lindsay Murphy, Marcelo Teson
This teaching guide outlines best practices for creating accessible video and audio content, emphasizing that high audio quality is essential for accurate captions and an improved learner experience. To support all learners and ensure compliance with the Americans with Disabilities Act (ADA), videos must include accurate captions and synchronized audio descriptions for any essential visual information. Synchronized closed captions should be available for live virtual meetings.
Digital accessibility changes for PSU faculty
In April 2024, the U.S. Department of Justice updated Title II of the Americans with Disabilities Act (ADA) to set clear requirements for accessible web content and mobile applications used by public entities, including public universities. The updated rule adopts WCAG 2.1 Level AA as the technical standard and sets a compliance deadline of April 24, 2026 for large entities. Learn more about Title II compliance at PSU.
What are my top priorities for creating accessible multimedia?
When recording your own videos, there are a few things you can do to create more accessible multimedia content.
Prepare before recording
- Connect to an external microphone. Even a basic headset microphone typically provides better audio quality than a laptop’s built-in microphone.
- Prepare a script or notes before recording. Having an outline of the topics you plan to cover will reduce the amount of editing needed after recording.
- Be ready to describe visual elements shown on screen. Describing charts, images, or other important visuals during the recording can reduce the need for additional audio descriptions added later. Continue reading to learn about audio descriptions.
Ensure accurate captions
- Record in Zoom rather than Kaltura Capture. Zoom generally produces stronger audio quality than Kaltura Capture. Recording in Zoom will also typically trigger automatic caption generation and enable them by default. However, if you notice they are not available, you will need to turn on your captions in MediaSpace.
- Use whole-word, domain-specific language. Clearly state names of concepts, chemicals, or technical terms instead of relying on highly specific localized acronyms or jargon.
- Enunciate clearly. Speak at a steady, audible pace with clear starts and stops between ideas. Find a quiet space. Record in a space with minimal background noise and "soft" surfaces, such as rugs or curtains, to reduce echo.
- Verify closed captions are enabled for live virtual meetings. By default, PSU Zoom accounts include synchronized closed captions for users to enable in all meetings. Verify or enable closed-captioning settings in your Zoom account or other software you may use.
Taking these steps will improve your audio quality and increase caption accuracy. That being said, auto-generated captions are rarely 100% accurate. You should review video captions carefully, especially for technical terms and names, and edit your captions for accuracy.
Note: When updating a previously recorded video to be accessible, you may need to add an audio description file. If you need help doing this, contact the OAI Support Desk.
Another reason to record in Zoom
All videos recorded in Zoom are automatically machine-captioned and saved to MediaSpace. While this automation will save you some time and effort, these captions should still be reviewed and edited for accuracy.
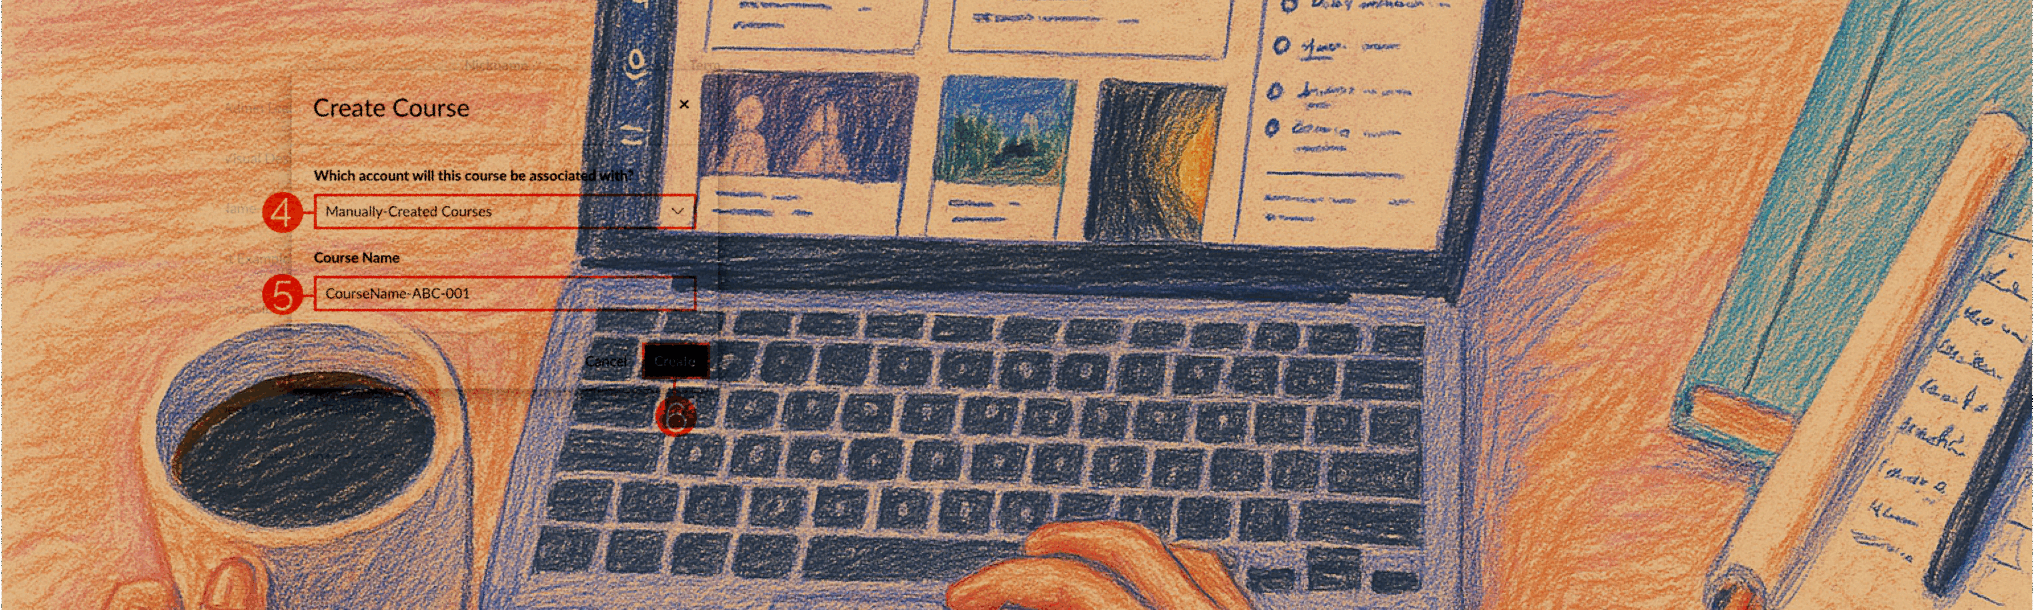
If you create your recording on another platform, you can upload the video manually to MediaSpace, but you will need to generate and enable machine captions. Storing recordings in MediaSpace helps you organize your content and provides an easy, accessible way to share video content with your students.
Add audio descriptions to your videos
Audio descriptions are narrations that describe essential visual details for students with visual impairments. While including audio descriptions in your presentation may seem daunting at first, some preparation can help you incorporate descriptions naturally into compelling, engaging, accessible videos so all students receive the same key information.
- When to describe: If a slide includes a chart, map, image, or other visual that is essential to understanding the lesson, describe key information aloud.
- When to skip: If a slide is purely decorative, such as a “Welcome” or “Questions?” slide, additional description is not necessary.

Without audio descriptions
“The tree and its famous pointed leaves have been here for several hundred years, but it has only been a part of the park since the park was constructed in 1935…”
With audio descriptions
“So what we are seeing here is a picture of the tree standing in the park by itself, and on the inset photograph is a close-up of the leaf with the signature pointed teardrop shape. The tree has been here for several hundred years, but it has only been a part of the park since the park was constructed in 1935.”
In this example with audio descriptions, the brief description of the visual content on the slide is woven naturally into the lecture. By planning ahead and integrating descriptions into your narration, you can create a single video that is accessible to all students.
Note: When updating a previously recorded video to be accessible, you may need to add an audio description file. If you need help doing this, contact the OAI Support Desk.
What does an accessible video look like?
- The narrator describes what is happening on screen so viewers do not miss important visual information.
- Steps are explained using headings and structure rather than relying only on visual cues. This supports viewers navigating via keyboard as well as those following along visually.
- It has accurate captions and a transcript available.
- The narrator could further support accessibility by reading aloud the final URL displayed on screen, so listeners can easily type it into a browser.
What do I need to know about sharing audio and video content from other sources?
It is important that all media you share in your course is accessible, even if you did not create it. Make sure that any video content you use (via YouTube or other platforms) has captions and that they are enabled for students. Much of the video content shared online will already be captioned, but check to be sure. If you use a YouTube video that does not have captions, add the video to MediaSpace and enable captions there. If accessible captions are not available, you may need to find an accessible version from another source or replace the video with an alternative resource.
For a comprehensive list of accessibility standards for WCAG-compliant audio and video, review the Accessible Media Worksheet.
Where can I find more accessible audio and video resources?
Describes accessibility considerations for planning, scripting, storyboarding, recording, and producing audio and video.
Learn how to add captions to a video in MediaSpace.
Learn how to edit captions within your video in MediaSpace.
Gives tips for writing audio descriptions as you plan instructional media development.
Take the PSU Instructional Digital Accessibility Training!
For more in-depth, structured learning about digital accessibility, OAI offers an asynchronous training course for instructors.
Includes directions on how to:
- Apply WCAG guidelines to your content.
- Identify accessibility barriers in learning content.
- Conduct self-evaluations of digital content.
- Remediate inaccessible content based on best practices.
- Integrate cognitive accessibility principles for diverse learners.
- Plan for accessible content creation in the future.
Instructional Digital Accessibility Training
Take this Canvas course for an introduction to digital accessibility in higher education. Course…
You might also like


👋Need more help?
Submit a support request through our Faculty Support portal for assistance.