
👋Need more help?
Submit a support request through our Faculty Support portal for assistance.
Note: for best meeting security, regularly download the most recent version of the Zoom client. We recommend doing this monthly.
Preventing unwanted guests and bad behavior in Zoom meetings is a combination of configuring your settings and learning key crowd control techniques. We suggest you first go through your settings and make our recommended changes. Then, read about crowd control techniques and practice them.
There are settings in Zoom that can help you reduce the likelihood of a Zoom Bombing attack. Most settings can be adjusted at both the global and individual meeting-levels. Global settings will affect all subsequently scheduled meetings, including via the Canvas-Zoom integration.
The global setting for your PSU Zoom account should always be set to require PSU authentication. This ensures that meeting guests will have full access to Zoom features like breakout room pre-assignment. When students are able to join with any Zoom account, they can unintentionally log in with a personal account and be excluded from necessary Zoom features. Instructions on allowing a non-PSU guest into a meeting are below.

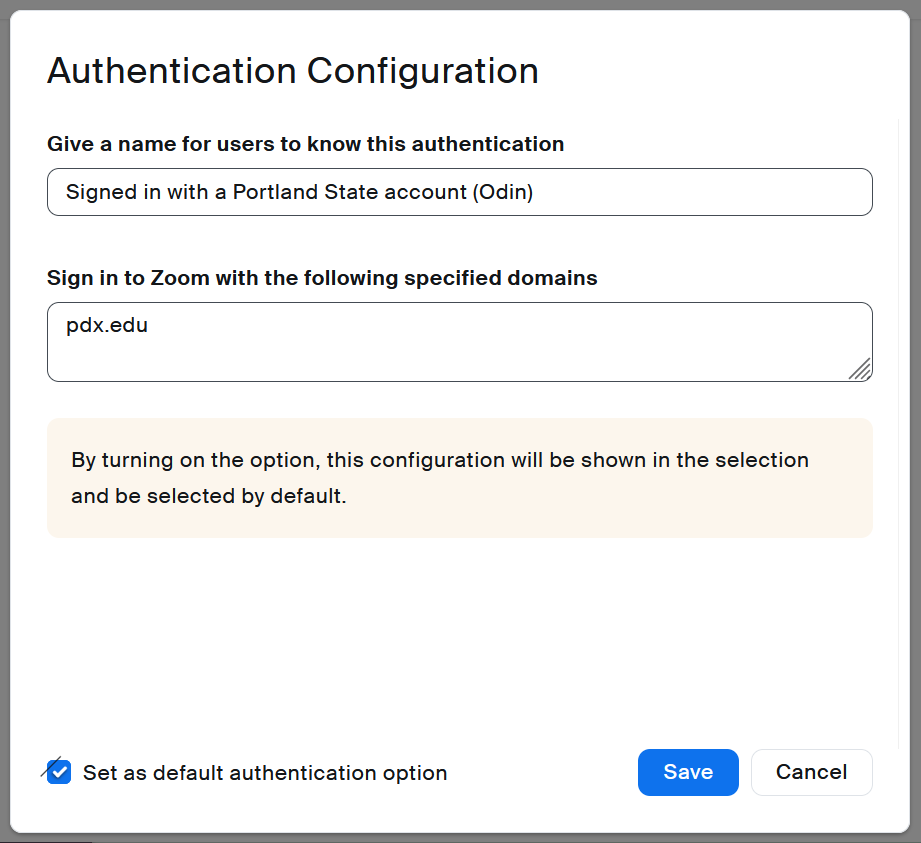
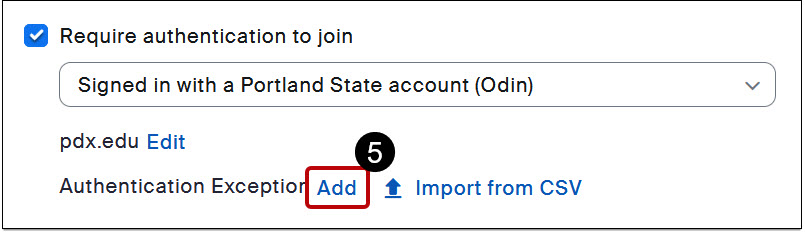
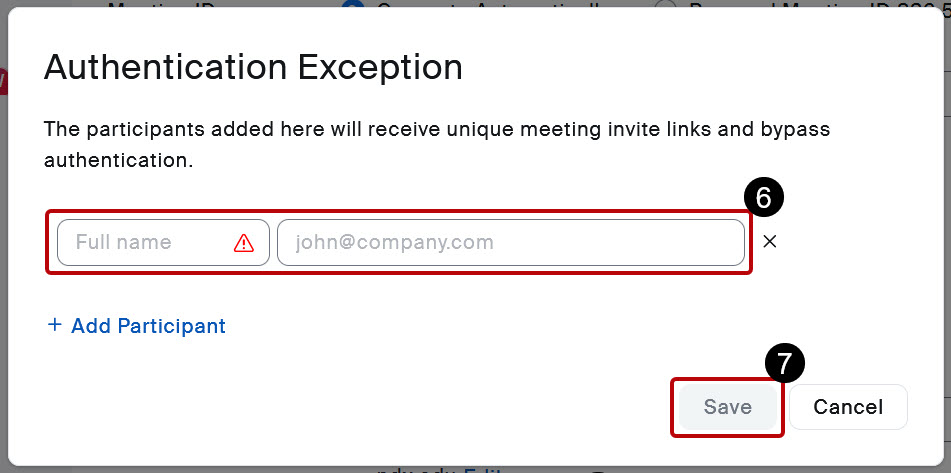
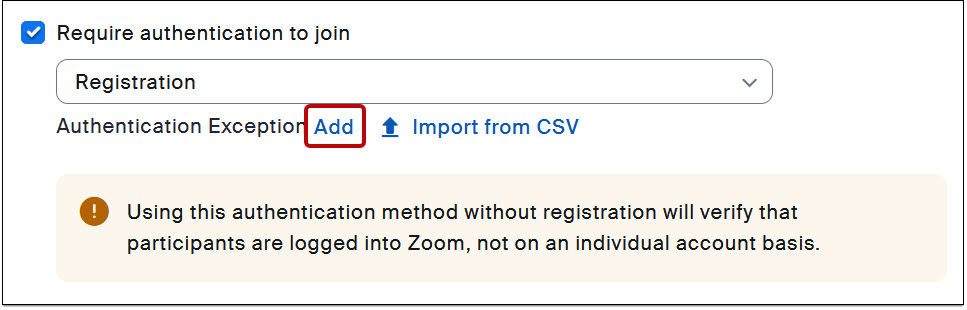
In the past, allowing a non-PSU guest in your meeting required you to temporarily change your settings to allow anyone with a Zoom account to join. This creates a security risk. The new security standard is to create an authentication exception for a specific non-PSU guest. You can add authentication exceptions to a single meeting, all instances of a recurring meeting, or a single instance of a recurring meeting.
Note: You can’t add authentication exceptions to meetings that use your personal meeting ID. You must select Generate Automatically.
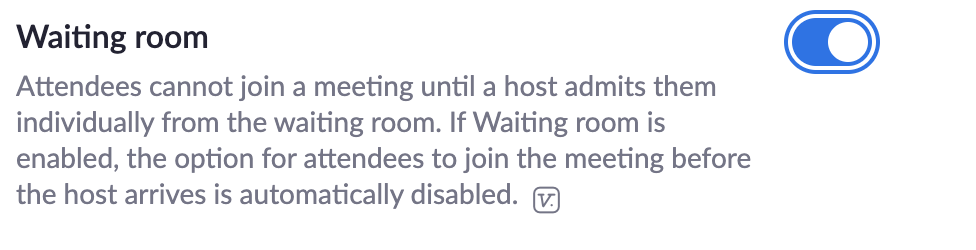
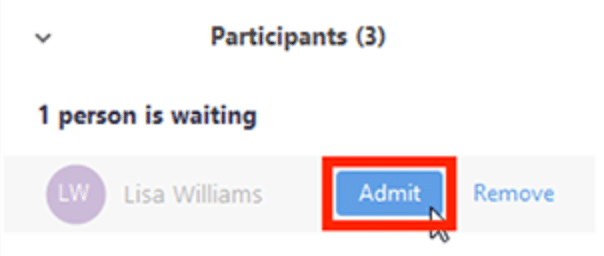
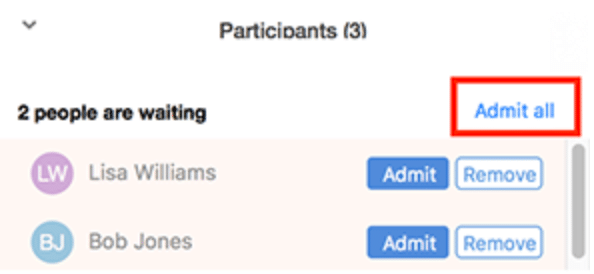
Waiting rooms are currently set as the system default for newly scheduled meetings This means that all meeting participants will be automatically placed in virtual waiting room, until you manually let them in to your meeting. You can admit participants individually or all at one time, once you have verified they are people you actually invited.
To enable Waiting Room for an individual meeting:
Note: You can also enable/disable a waiting room for individual meetings when scheduling new or editing existing meetings.
Note: This option is not as secure as using a Waiting Room, since students can share passwords with the public. Use this option only with highly trusted invitees.
Setting a meeting password will require participants to enter a six digit code upon entry to your meetings. This feature is available for meetings as well as Personal Meeting Rooms and can be used in combination with Waiting Rooms for added security Meeting Passwords. Meetings are assigned a random password. You can assign or update the password to one of your choosing.
Set Passwords on a Meeting by Meeting Basis:

Note: You can also update this setting globally so it is the default for all subsequently scheduled meetings by logging into the Zoom Web Portal at pdx.zoom.us, and clicking Settings from the left navigation menu. You will have additional customization options at the global-settings level.
You can require participants to register for a meeting in order to attend. This is generally not advised for class meetings, but it is strongly recommended for public meetings or with meetings where the Zoom links are posted publicly. This requires users to register to receive the meeting link/password (if required). The meeting host can customize the registration field and approve or deny guests.
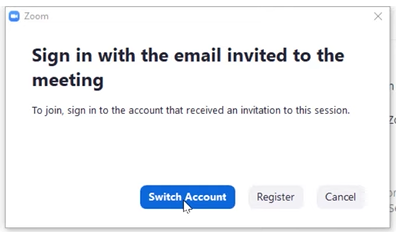
In the past, Zoom meetings that required registration generated a link that could be shared with someone other than the person who registered. A new update requires registered users to join with the email they registered with. If a guest tries to sign in with the wrong email domain, they are prompted to switch accounts. Attendees must register with an email associated with an active Zoom account. This must be done before registration can be completed.
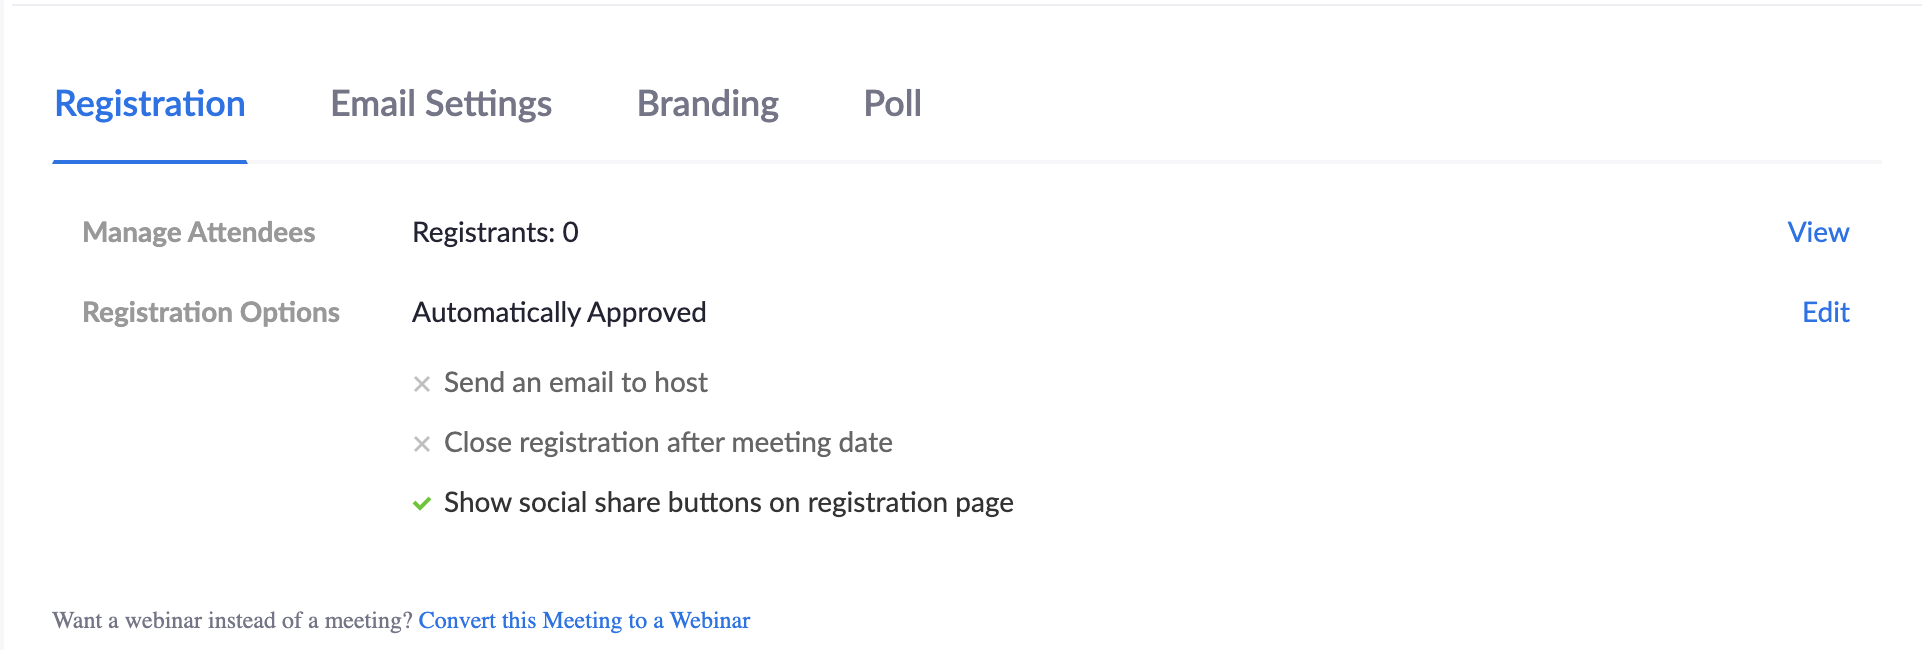
After enabling registration, a new set of options will appear at the bottom of the meeting details page.
There are a number of features within Zoom that you can use during a meeting to help manage your participants, and mitigate unwanted behaviors.
You’ll need to have enabled a waiting room for your meeting ahead of time.
As the host, you have a number of crowd control tools accessible to you in the host control panel. We outline them below, and also recommend Zoom’s In Meeting Controls 101 Video.
You may need to move your mouse to the bottom of your screen to trigger host controls.
Host controls contains all settings needed to control your participants in meeting. This menu contains individual user settings and controls for the whole meeting.
Mute a Participant
Hover to the right of a user’s name to find the mute/unmute options for audio and the stop video/ask to start video option.
Remove a participant
Temporarily remove a participant by selecting Put in Waiting Room in the drop down next to the participant’s name. This feature removes the guest back to the waiting room, and you can allow them back into the meeting as you choose.
Select Remove from the drown down next to the participant’s name to block the user from re-entering the meeting. This does not ban the user from your meetings permanently. Please make sure to report the guest.
Mute all Participants
At the bottom of the Manage Participants window, click the Mute All button. This will mute everyone in the meeting except the host.
Disallow participants from unmuting themselves
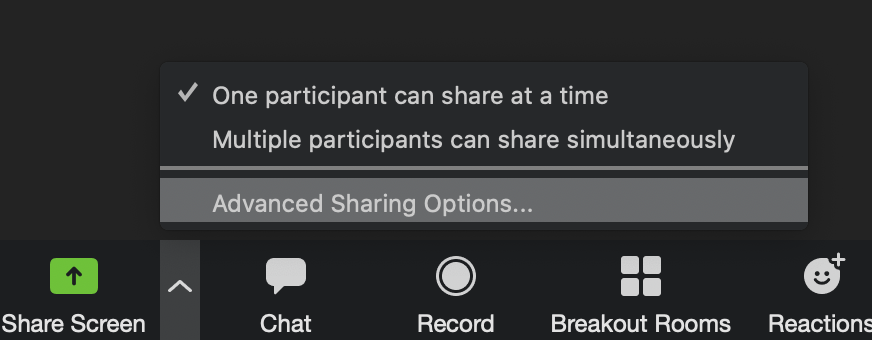
We highly recommend that you control who shares their screen by setting it so that only you, the host, can share your screen. This is the default setting for all PDX users. When this setting is on, the host can grant participants permission to share their screen at their discretion.
To allow participants to share their screen
Zoom has a feature that allows users to annotate on top of any shared source. If you have enabled annotation for your meeting(s), any participant will be able to annotate the shared screen by default.
To temporarily disable participant annotation in a meeting

When all of your participants have arrived in your meeting, you can “lock” the meeting so that no more participants can join or ask to join. When you lock the meeting, no new participants can join, even if they have the meeting ID and password.
When ready to lock, click Participants in host controls.
![]()
Click Lock Meeting
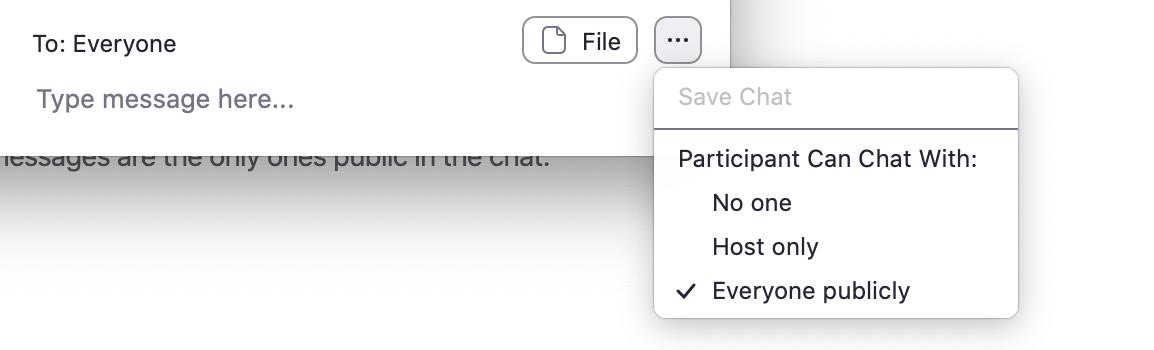
If the chat feature is causing disruption, you can adjust it to allow participants to chat with the host only, all participants publicly, all participants publicly and privately, or no one.
This article was last updated .
Submit a support request through our Faculty Support portal for assistance.