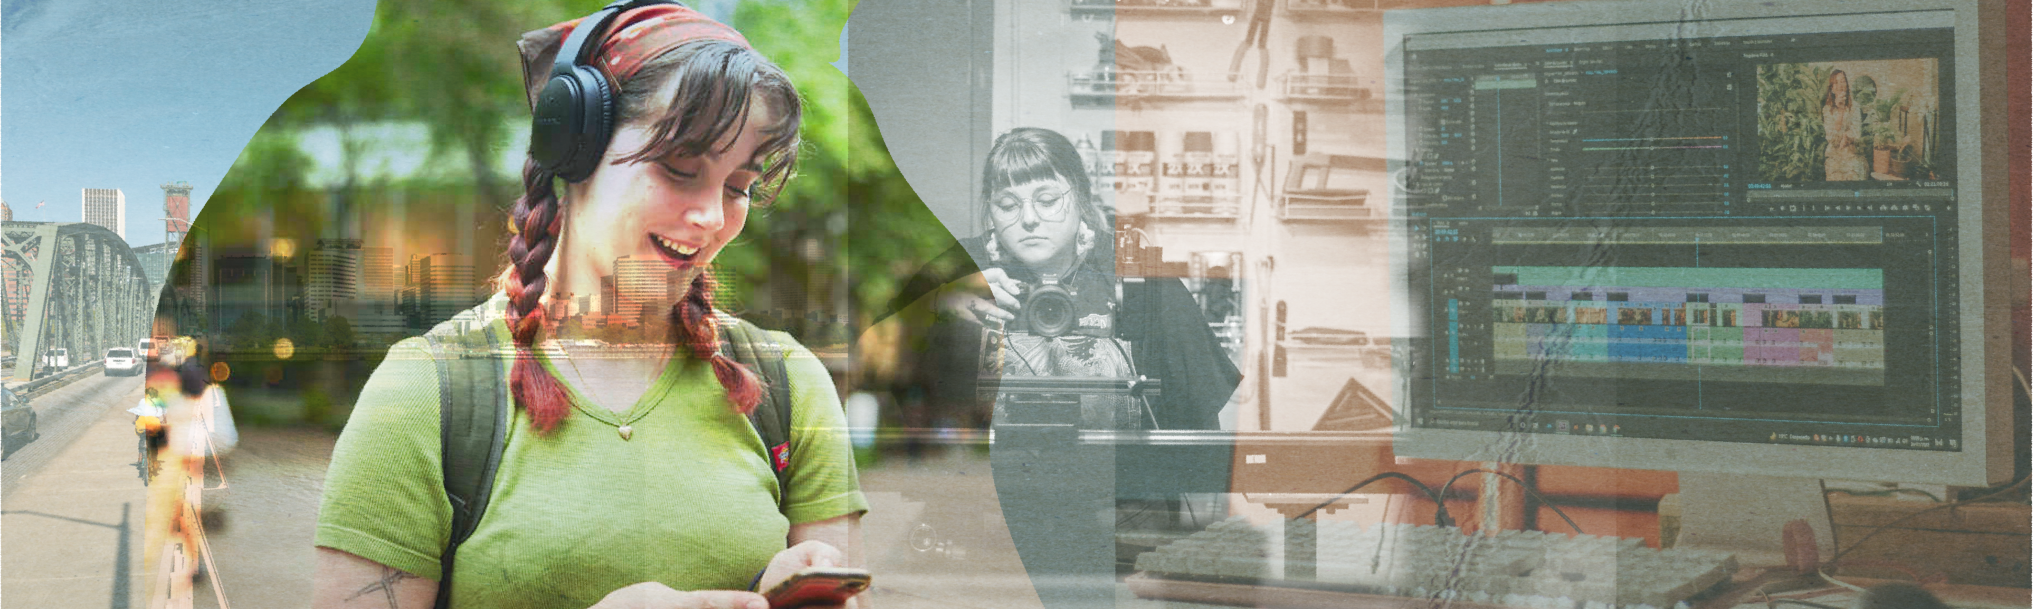
What is faculty-created media?
Faculty-created media refers to video and audio materials created by the instructor to support student learning. Common types include:
- Concise video lectures focused on a single concept, theory, or skill (typically 5–10 minutes in length).
- Virtual field trips or site visits that let students experience places or processes they may not otherwise access.
- Audio conversations or podcasts featuring the instructor alone or with guest speakers.
- Short-form videos to emphasize key points or provide additional guidance.
- Demonstration or tutorial videos that model problem-solving steps or lab techniques.
Faculty-created media doesn’t need to be elaborate or high-budget. In fact, short, authentic recordings are often the most effective for student learning. The key is keeping your content concise, engaging, and accessible to all students.
Why should I use media in my course?
Faculty-created video is a powerful tool for engaged teaching across all course modalities. While often associated with online learning, instructor-made videos also benefit students in face-to-face and hybrid courses. Using video in your instruction allows students to review material at their own pace, revisit complex concepts, and catch up on content they may have missed in class. In large classes, faculty-created videos can help humanize the material, making it more engaging and accessible.
Additionally, when paired with captions and transcripts, video provides multiple entry points for learning, making content more accessible and engaging for all students.
Video in Online Courses
In online courses, faculty-created videos are especially impactful because they allow students to experience their instructors' presence in a more personal and engaging way. Consider using video as part of your regular instruction, including in announcements and assignment feedback.
You can also encourage students to use video instead of text for discussions or other assignments to help increase student engagement and foster a sense of community! Learn more about using video in Canvas Assignments and Discussions.
How to create quality media for your course
You can make great course videos without being a tech expert or having fancy equipment. This section covers the simple steps to plan, record, and share media that keeps your students focused and helps them learn.
1. Make a course media plan
Before recording, spend some time planning out where videos and/or audio might have the biggest impact in your course. If you are designing a course in Canvas, you may already be familiar with the concept of “chunking,” or breaking up course elements into smaller, digestible pieces. This is especially important for media production, as students are more likely to watch shorter videos in their entirety.
Start by thinking about the types and quantities of videos you want to create:
- Make a roadmap. Consider the pacing and sequencing of your media content. Will you create weekly overview videos? Short concept explanations? Videos can serve as effective introductions to new material or brief summaries at the end of complicated topics.
- Remember cognitive load theory. Mayer and Moreno (2003) found that working memory can hold only five to nine items at once. When mapping out your media plan, avoid adding activities or information that don’t support learning. Remove tangential or extraneous elements to keep each video concise and coherent. (See Mayer’s theory of multimedia learning in action)
2. Prepare before you hit record
Once you have a list of the media you want to create, take a few minutes to prepare each recording.
- Make a script. Write a short script (or even just an outline!) with the key points you want to cover, and practice reading it aloud. This helps you get an estimate of the length and identify areas to simplify or cut. Be sure to think about the flow and how you might incorporate visuals. A bit of natural improvisation is welcome (students appreciate authenticity!), but practicing helps your delivery feel more conversational and allows your personality to shine through.
- Clarify your purpose. Tell your audience why they should keep watching. Within the first ten seconds of your video, students should know what they’ll learn or what problem the video will help them solve. Consider including an outcome statement or summary of the topics you will cover.
- Be aware of the length. Guo, et al. (2014) found that videos around six minutes or less are ideal for keeping students engaged. Don’t just give your in-person lecture and expect students to maintain engagement throughout the entire video. Instead, find natural breaks in the content, and split longer presentations into shorter, focused videos, which can then be added as subtopics and chapters in Canvas.
- Take steps to make sure your media is accessible! Some accessibility features, like captions, can be added after recording, but some practices are easier to incorporate upfront. One example of this is describing your on-screen visuals as you go. Doing so reduces the need for separate audio description tracks later and ensures all students can follow your content. For more information about accessible recording practices, see How to make accessible videos.
3. Record in Zoom
Zoom has become a familiar tool to most PSU faculty, making it one of the easiest tools to use for recording instructional media. Recording in Zoom works just like holding a regular Zoom meeting: you can share slides, videos, and websites while you are presenting.
Zoom recordings automatically create a backup on PSU’s MediaSpace server, making it easy to share with students. Additionally, Zoom recordings automatically generate captions, a necessary step in the process of making your video accessible to all students.

When you begin recording for the first time, you might feel some nerves and jitters… this is normal! It is common for people, even on-screen professionals, to require multiple takes and restarts. Students don’t expect perfection. In fact, leaving small imperfections can make students feel more at ease, realizing that their instructor is just a human being doing their best!
4. Tips for better recordings
Clear sound and good lighting help students stay focused and make your recordings feel more personal and professional. You can make big improvements to the audio and video quality of your recordings with just a few simple adjustments… no expensive technology required!
High-quality audio is the single biggest Improvement you can make to your recordings. It engages the listeners and creates a natural flow that immediately draws viewers in. Improving audio is less about buying a fancy microphone and more about how you use the microphone you have.
Do
- Do use a dedicated microphone. A basic lavalier microphone you can clip to your shirt or a headset microphone you can wear will greatly improve your audio quality—not because the microphone is expensive, but because it is properly placed.
- Do speak clearly and confidently. Keep your microphone close to your mouth, about 6–8 inches away. This reduces background noise and echo (the signal-to-noise ratio), keeping your voice clear without shouting.
- Do test your setup before recording. Do a test recording to check your sound. What might seem normal in the room might sound different when you play it back. OAI staff can offer feedback if you're unsure.
Don't
- Don’t overspend on a microphone. Mic placement matters more than mic cost. A well-placed $30 microphone will sound better than a $1000 microphone placed incorrectly.
- Don’t record in a reverberant room. Hard surfaces and boxy layouts can create echoes that lower clarity. If recording at home, try recording in a room with cloth textures, curtains, blankets, etc., to absorb sound. Clap loudly to test for echo and adjust as needed.
Built-in mics
Many laptops (like newer MacBooks) have excellent built-in microphones. If you are sitting close to the computer (within about two feet), the audio quality should be quite good.
Most smartphones also record high-quality audio using their built-in Voice Memo app. If you are only capturing audio, recording directly into your phone might work well. Consider using a set of wireless earbuds or similar wired earbuds with a built-in microphone to help focus the sound on your voice.
Whatever device you choose, always do a quick test recording first to make sure the microphone meets your needs.
Much like audio, grainy or dull videos are usually caused by poor lighting, not by the quality of your camera. Using natural light or a few lamps or other light sources can dramatically improve your video’s appearance. Additionally, good camera placement goes a long way toward creating a polished, professional feel without buying any new equipment.
Do
- Do elevate your camera slightly above eye level. If you’re using a laptop camera, try elevating it with a stand or a stack of books so it’s at or just above eye level. Keep the camera about an arm’s length away from you—not too close, not too far!
- Do make eye contact with the camera! Eye contact helps your video feel more engaging. If you need notes, glance at them occasionally, but keep most of your attention on the camera. Try a practice recording to see how much time you are actually making eye contact with your audience. You might be surprised at the results!
- Do light from the side. A light source positioned at a 45-degree angle (from a nearby lamp, or a window off to the side) provides a smoother, more natural look. You can use lampshades or walls to “bounce” the light and diffuse it. By pointing a light at your face and merely turning it around to point at a wall instead, you will create a more natural look that won’t overpower your webcam.
Don't
- Don’t rely on overhead or straight-on lighting. Overhead lights cast shadows over the eyes and are generally unflattering. Lighting from straight ahead (for example, with a ring light) flattens the face and can cause unwanted reflections in your eyes, especially when wearing glasses.
Try Zoom Filters!
Make use of some of the filters available to you in Zoom. For example, the “blur” effect helps maintain privacy and keeps students focused on you. The “portrait lighting” setting is a great way to digitally improve your image without using real-world lights. Learn more about using Zoom video filters.
5. Getting your media ready to share with others
After recording your media in Zoom, your file will automatically appear in your MediaSpace library. The recording and captioning process takes some time, so your video/audio may not be available immediately after you end your recording. Take this opportunity to take a step back and come back with “fresh eyes”—this will help you make more objective decisions about what is and isn’t working, and help you see your video from a student’s perspective.
What if I didn’t record in Zoom?
Storing your instructional videos and audio clips in MediaSpace is a great way to help you keep track of your media. Although this guide focuses on creating media using Zoom, you can also upload media directly into MediaSpace from other sources.
One thing to keep in mind is that when uploading manually to MediaSpace, captions are not autogenerated, so be sure to add that to your to-do list!
Before sharing your video or audio clip, there are a few things you should do:
- Rename the video title from its default Zoom title for each recording. (Reminder: Using a consistent naming convention will help you locate videos in the future!)
- Review and edit captions for accuracy.
- Update your media permissions so it’s ready to share.
- If necessary, edit your video. You can make small edits to your video using MediaSpace’s built-in editor.
Once your videos are recorded, edited, and captioned, you are ready to share them with your students. You can share links directly or embed your videos into a Canvas course.
You might also like


👋Need more help?
Submit a support request through our Faculty Support portal for assistance.
You might also like

👋Need more help?
Submit a support request through our Faculty Support portal for assistance.