Setting up an ATLAS Workspace in Canvas that auto-enrolls students
Before you begin this process, you will need to make sure you have creator privileges in an ATLAS region. If you do not have these privileges (or are not sure if you do), contact your department PebblePad coordinator or the OAI Faculty Support Desk .
Create a PebblePad LTI Express Assignment
- Navigate to the Assignments area in your Canvas course and select the +Assignment button to create a new assignment.
- Enter a name for the assignment and any other details you want to include in the spaces provided.
- In the Submission Type menu, select External Tool.
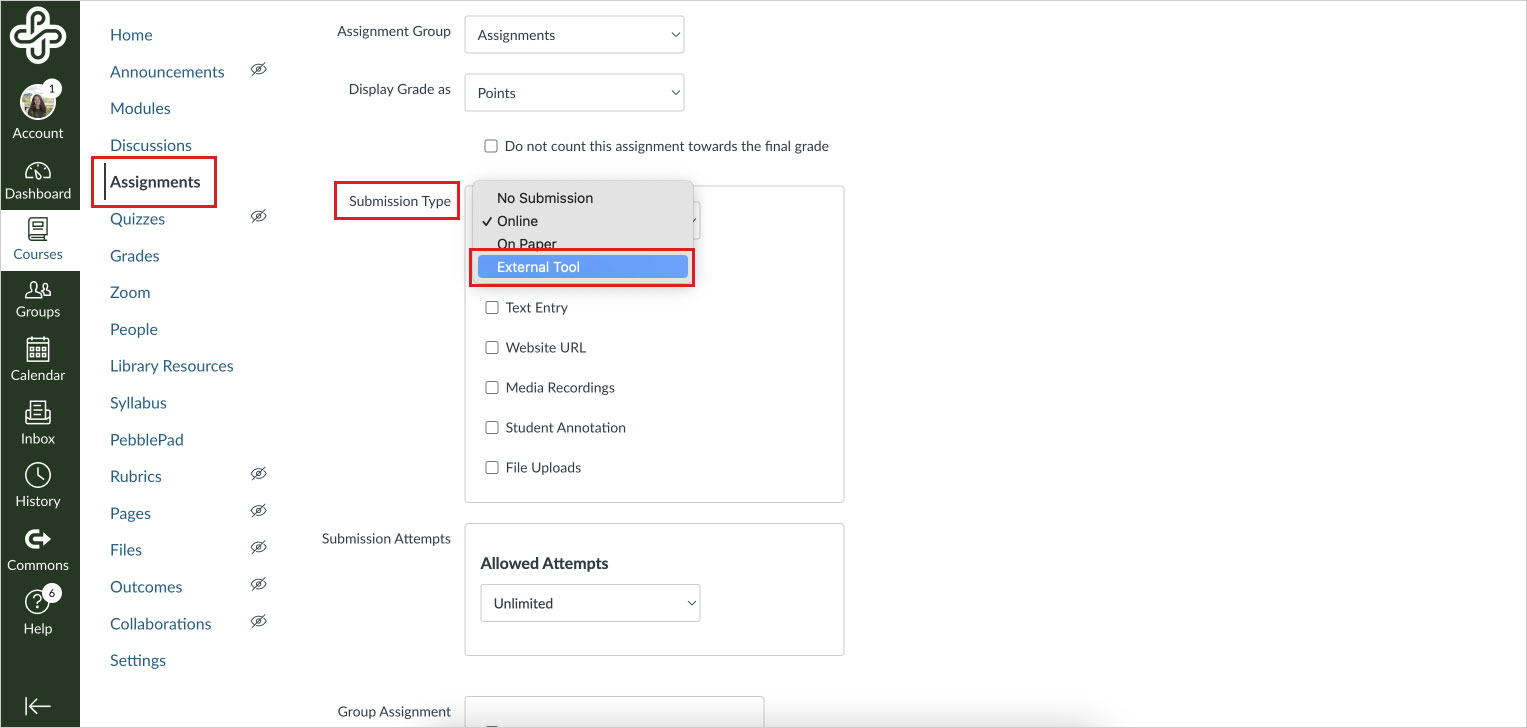
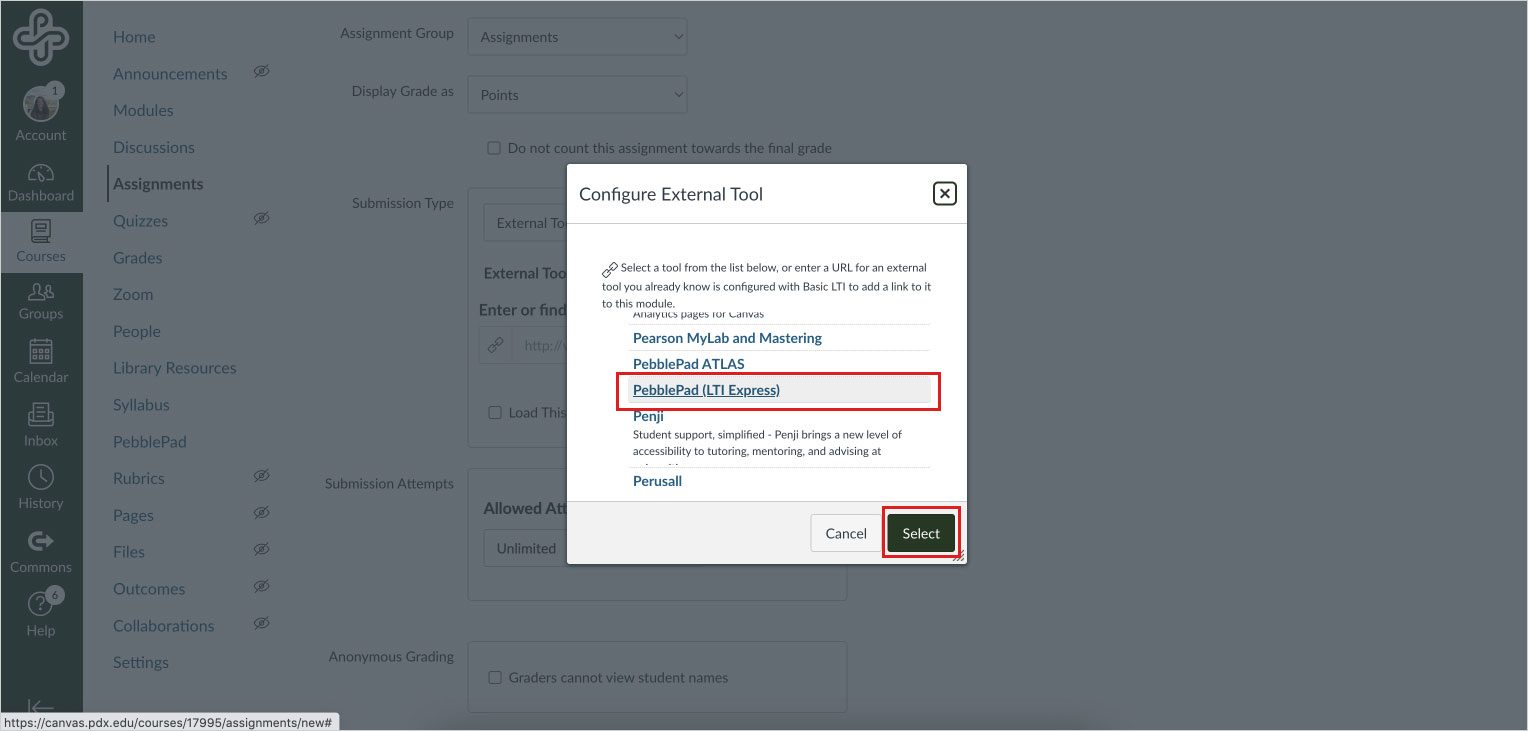
- Select the Find button and then scroll to PebblePad LTI Express.
- Use the Select button to create your LTI link and close the menu. Important: do not use the small X in the upper right corner to close this menu. It will close, but no LTI link to PebblePad will be created. In that event, delete the Canvas assignment and start over.
- Complete the Canvas settings for the assignment, including number of submission attempts and due date. Then choose Save (do not publish until you have set up the workspace).
Set up your ATLAS Workspace
- From the Assignments page, select the PebblePad LTI assignment link you just created and follow the prompts to load the page in a new window.
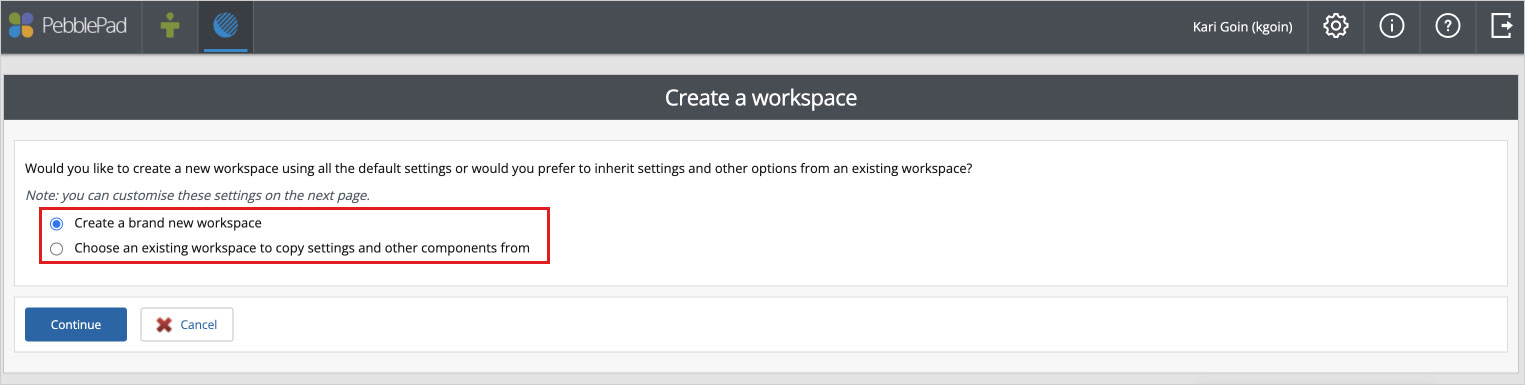
- If this is the first time you are adding a PebblePad link to this course, a page will appear prompting you to either create a brand new ATLAS Workspace or copy an existing one.
-
-
- If you have created a workspace in another course, you can choose it from the dropdown to copy the settings and skip to Step 4.
- If you choose to create a new workspace, you are presented a basic Workspace configuration with the name is prefilled based on the Canvas Course title, which can be changed before saving. Also, it is important to note that you can keep working on the Workspace in Setup Mode before activating it.
-
- Select each of the tabs to enter the relevant information for your Workspace:
-
- Basic Settings: Complete the naming of the Workspace, or accept the default one
- Advance Settings: Complete the other configuration options. Note: If copying an existing Workspace, this tab will not appear.
- Managers: Confirm that instructors from the Canvas course were added as Managers in the Workspace.
- Member: Confirm that students from the Canvas course were added as members of the Workspace.
-
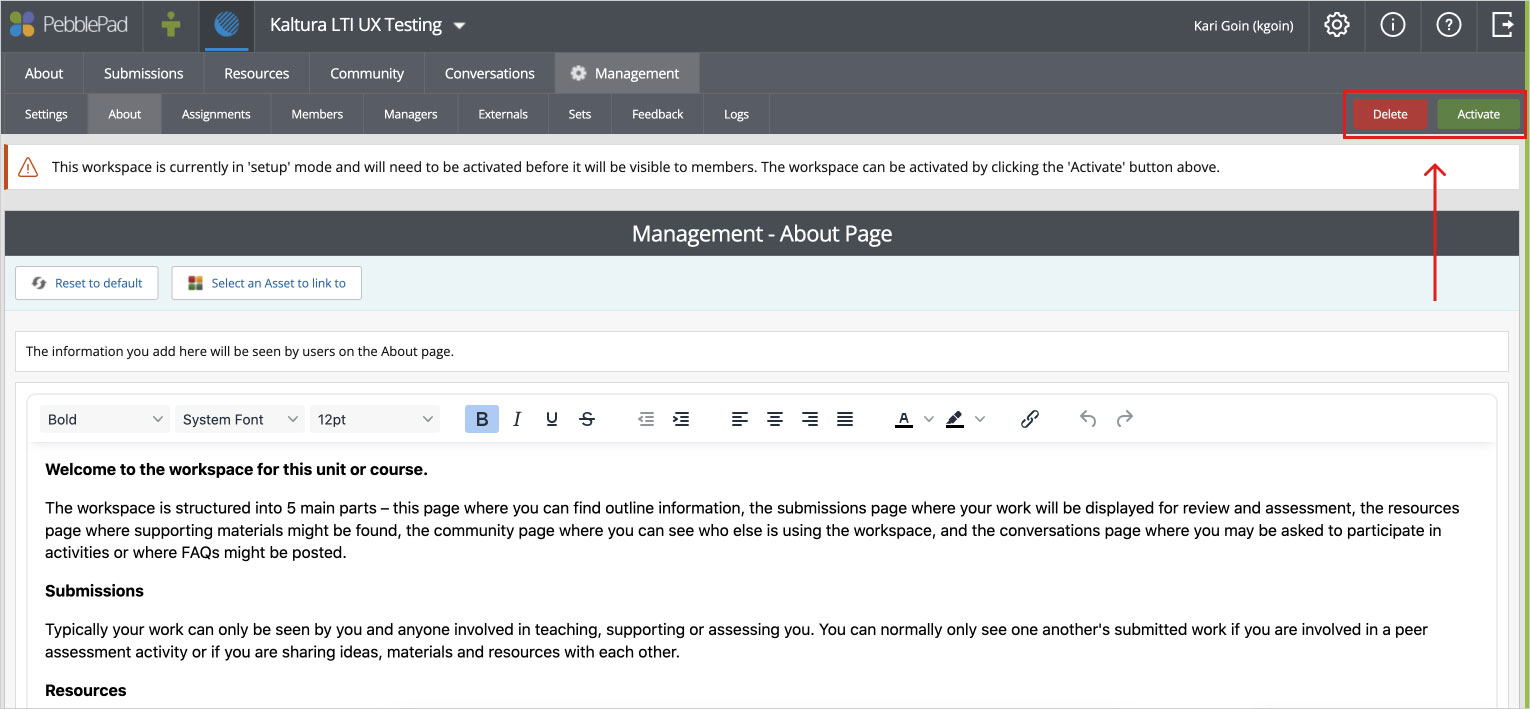
- Select Finish.
- Select Activate and follow the prompts to confirm the status change. (Note: You may see a prompt, showing the number of users that will be created in PebblePad and the number of accounts that already have a PebblePad account. This is for information only.)
- When you are ready for students to begin accessing the workspace, make sure to Publish the link in the module or on the Assignments page. Once published both students and instructors can click on the PebblePad LTI Express link to be taken directly to the ATLAS Workspace to access Resources there like Portfolios or Workbooks and Templates. From this point on the linked ATLAS Workspace will sync enrollments from Canvas to ATLAS.
This article was last updated .
You might also like


👋Need more help?
Submit a support request through our Faculty Support portal for assistance.